First off before get into explaining this item the original place I saw it was http://www.youtube.com/user/captjeff78/videos and from a few other concepts of static knife edging jigs used in professional factories. I am not associated with Captjeff78 personally but he deserves credit for this great design and honestly the difference maker in my knives going forward. Youtube and many of these great knife video makers are adding valuable if not invaluable hands on info to the greater amateur knife making community so thank you to everyone in the education field regarding Blacksmith and knife making based information. I myself run this blog to help anyone who may be going through the head scratching parts of making knives and doing forge work.
Now onto the Visbjorn Scandi Edge jig!
Forgive the bad graphics but this item is rude, crude and ready to use!
The jig above I use to make Scandinavian Edge style knives to great effect! I can make the same knife with any depth of hollow ground I want and they are basically ready to use right off the sander. I use 80 grit to remove material and 120 to finish my knife edge. I leave the steel at factory finish to creat a more earthy realistic feel that I prefer. I then 3500 RPM wire brush after all heat treating. Sometimes it is nice to hit the master bevel one more time to brighten it up after heat treating. I use a Ryobi 4″-36″ belt sander and generic 1″ by 30″ sander.I prefer using fresh factory made 1075/1080 High carbon steel. Please refer to my Trade off steel post for more info on how to get 1080 and other alloys.
As the graphics show, it is rather self explaining how to make and use this item. Simply creating a secure static for the knife to sit on and move it slowly but firmly across the belt until the desired edge is created. I modified mine to be more adjustable and use the large clamp as a handle which can be a pain but creates a more flexible tool if holes are not desired on your tang. I typically mount in antler so I use a Scandinavian tang shape.
Examples of blades made on my jig:
A finale note I would like to share regarding this jig concept is the profound effect it has made on my freehand knife making. It has steadied my hand and given the proper example of thorough steady grinding required to make a nice functional knife. Now when a roughly forged blades is needing an edge but does not fit on the jig I can easily achieve a nice uniform convex/scandi edge with great success>
Example:
I hope this will help on the road to better knife making, it has helped me greatly in my own progress and has redefined my art form in many ways.
My original 60 grade rebar article has been very popular because it covers the general questions on rebar from a field testing stand point however it largely has left out the more commonly found 40 grade, so I decided to tackle it head on in this update to REBAR: HOW AND WHY.
The 2 daggers above were forged from a single piece of random grade 40 domestic rebar. I decided to torture test the hardness, strength and consistency of grade 40 after the success with grade 60. The results were 100% positive in the fact that this material water hardened so well I myself could not believe it. I made 2 daggers out of it with identical results and then quench hardened a non worked portion to test randomly in my vice. I place the round undeformed piece in my vice and attached a wrench to it attempting to bend it. It was so hard that not only did it barely bend under pressure it actually return to shape when it finally did flex. After this testing it still appears that tempering is not 100% needed but this is my own preference. Viewing my experiments in whole I have yet to have any negative result from making blades out of either 40 or 60 grade and the hardening ability/carbon has been high in all pieces I have tested and all tests have been on totally random pieces. One piece actually snapped when I continued to forge below temp.
My steel rating:
Workability: A+
Hardening: B+
Durability: A+
I again highly recommend at least testing this your self and seeing if you get the same results.
I will be making a rebar Scandi and it will be featured in a future article with testing data.
Remember that field testing material has far more value than internet myth and metal working lore that up to this point has been flat-out wrong.
Scandinavian Bush Knife. 1075/1080 blade steel with oil quench.
The Bush knife above is my first under my VISBJORN Forge name and the first Vinlander 1.0 although the design will likely include a stag handle after this prototype.
I used a Jig to get the edge bevel and I will be doing a very detailed post on who invented the jig originally (With links) and how I made my own version and added my own custom details for what I do. I do not know how I lived with out it before so I look forward to sharing my results and modifications in the future. I will also be doing a Gear overview post to show what an evolving home knife shop might have in it and how you can have a serious shop right in your own shed.
I think I went over general safety in a previous post but I will do a safety bullet points right now to refresh.
1. Always wear goggles for grinding and darker glasses for forging. The white spot in the forge can be damaging to the eyes like the light produced by welding..
2. Gloves are needed while grinding to prevent burns and getting caught by the paper/wheel.
3. Hearing protection should be used for any prolonged use of power tools.
4. Always wear a good dust mask while grinding. VERY IMPORTANT.
5. if you use German silver (cupronickel) or nickel in your work whether jewelry or knife accents please be aware the dust is very toxic and should be avoided at all costs.
6. Please see previous posts for blacksmithing tips on hammer holding etc.
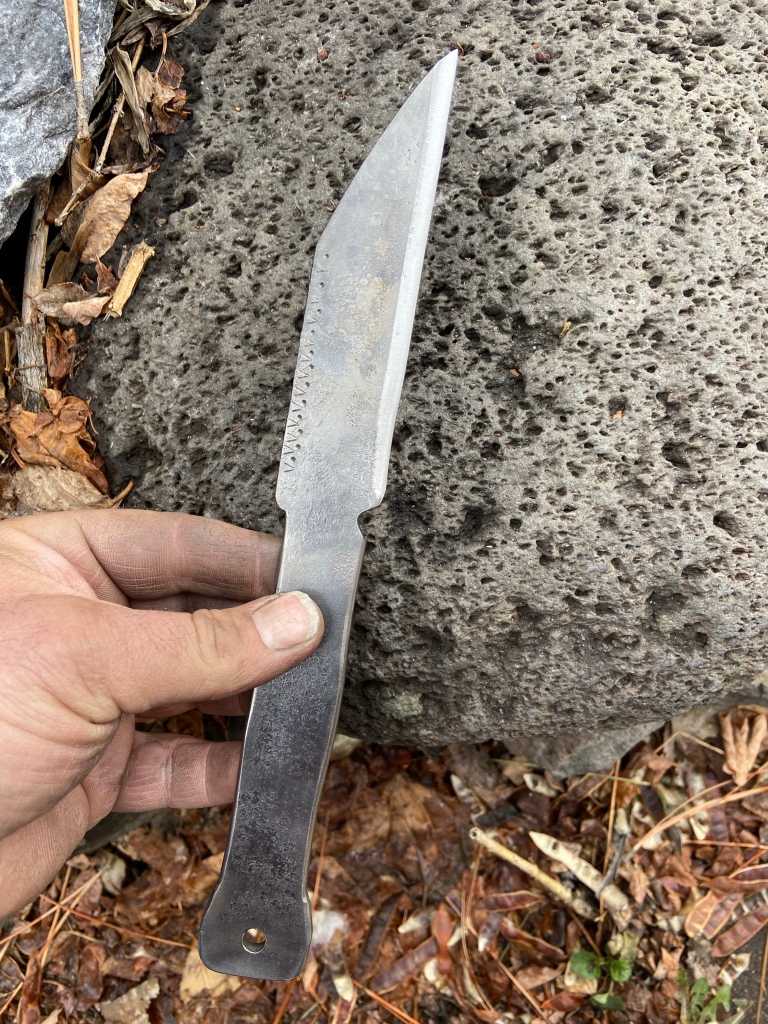
New post!: its been awhile and I have been thinking of what I wanted to post and I decided to talk a bit about unorthodox knife edges and how they improve or atleast living up your creations. The knife above is a D-2 tool steel Starcke T1-5 Seax or Tactical Seax (Copyright Norsewest Industries 2011) The knife has a rather radical cutting edge in that is has only one bevel and the opposite side is flat ground. This allows the user to maintain the edge almost exclusively with a steel. I myself was skeptical having seen similar ideas in pocket knives with less than stellar results! but when I finished this version 1.0 prototype I was shocked how proficient the edge was and how truly sharp the knife is with a single sided bevel.
As you can see the side 2 shot notes the straight angle with no bevel. By using the Seax design it allows a perfectly straight cutting edge with no awkward to sharpen angles. Combine this with the single side bevel and you have an easily maintained Bushcraft knife with modern and ancient designs. So far this design has managed to make mince meat out of 3/4 inch rope, leather, vinyl, fabric and wood with total ease, so I recommend you think more creatively about your edging and have fun experimenting with new angles and applications to your knives.
Experimentation is a good thing in any craft or art form and without bold new directions and ideas no art form can survive. Always have fun and bring your best intentions into the workshop. Hope this inspired some out of the box Knife or any kind of metal crafting. stay tuned for new Starcke and Greenlandr Bush knife experimentations/ideas in design.
The Athame is a ritual dagger used in various forms of Witchcraft to cast circles and transfer energy similar to a wand. Like any tool for any job I design my Athame or Witch Daggers for the purpose of energy work and symbolism. Modern wrought iron or 1018 is my prefered material. The more iron content the better for this use as I am a believer in metaphysics and energy utilization. Pure wrought iron if available is the finest for this type of item because there is no edge on an Athame. The blade shape is symbolic. In ancient Norse culture iron is a holy material of great importance. A Norse custom of hammering iron nails above the door is believed to guard your home from unwanted spirits or Trolls because they dislike iron.
This gallery contains some of my favorite creative pieces for this purpose.
Hardened iron blade with Runes hand chiseled. handle is mule deer antler. Design on Antler is inspired by bronze age Slavic pottery.
Rams Head With Custom Sawback.
Dragon Spear Athame with Leather vand hemp handle wrap.
Nordic Bronze Age Inspired Athame
Dragon blade, Norse handle and Labradorite accents.
Norse Seax in Battle form with Reindeer antler handle.
Utility lenth Seax Forged from High Carbon Steel.
Iron Seax.
The Norse Seax:
Length 7 to 24 inches historically.
Date of invention early: Iron age.
Meterial: Iron/Steel.
Notabe details: Steep drop angle nose and straight cutting edge.
Name: Seax is from the Germanic word “SAX” meaning short sword or long knife.
NORSE: Sax
ANGLO SAXON: Seax
……………………………………………………..
The Saxon people derived there name from this weapon because of there lengedary use of the weapon. No man was without this blade in the time of migrations. The popularity of the blade was so woven into Nordic culture that the Seax in style existed from the early iron age through the Viking age.
The Norse/Saxon warrior often carried:
1 Spear
1 Seax
1 Sword
1 belt knife
A hand Axe could also be added to this already fully stocked personal armoury.
GALLERY OF HAND FORGED BLADES FROM RECYCLED MODERN WROUGHT IRON (1018)
Cold chiseled Runes.
Hand stamped Runic engraving. (Cold chiseled in to steel while still soft)
Recycled Steel: Wroughr iron Athame with brushed finish.
Steel Recycled from a structural ring (18-20% carbon.
Wrought Iron Athame with Antler handle.
Athame: A tool used by a Witch, Sorcerer or Shaman for various energy practices and rituals. Done in Nordic style with chiseled Runic marks.
Forged with hammered edge for increased strength, A early iron age technique called hammer hardening carried over from the bronze age smiths. Viking style.
Viking style wrought iron piece forged from carbon steel round stock.
Recycled Wrought Iron with Visigothic influence. Cold chiseled Runes.