After forever the forge is back in action. Trying to find a trip to Denmark/Germany. no customs just what is on here is available for now. Not back to knives yet. Hammer arm is a bit rusty yet.
The blade above is as described in my last post, the very first really solid forge welded blade I have done. Please refer to the last post regarding the change in techniques I made. As you can see, some pattern is starting to show after acid cleaning. The circled area is where the fold was and did not weld correctly. If I would have continued to fold this would have solved itself but it was more an experiment on proper technique. This material is just stock 1018 for practicing the welds. I used borax as the flux. Strength was increased greatly after folding for a low hardness steel. Forged in very high carbon content coal fire.
Reverse side.
Another good clear shot of the folding points. These issues solve themselves throughout longer welding projects however this was consistently folded without issue and welded in a coal forge which I am very proud of, I built the forge and it works very well for this process as it reaches steel melting temps easily. Next project is doing Swedish lamination. Surrounding 1080 with 1018 for max edge hardness and max spine durability.
Forging a larger blade 14″-30″ can be very frustrating to do because of the time and consistency of the heating required to shape or heat for quenching. This post will address these 2 issues. First take a close look at the two photo’s above. you notice that the brick box is fitted with a drilled copper pipe, this is your air source and will allow you to create enough heat to do your work. I built this forge for the purpose of quenching a 24 inch Seax blade so I drilled the holes very small along to the pipe. This allows me to add just enough heat to get to red without worrying about burning the steel. Adjust the drilled hole size based on what you are doing. If you are forging then add larger holes for more air. I use old bricks because they retain a great amount of heat and are easy to get. I use briquettes because they can burn hot enough to melt steel or can be heated and maintained just to heat to red as I have done here. In the fire is briquettes and a mixture of hardwoods and ever green limbs. This setup can be built anywhere and works very well, if you shorten this exact design it makes a perfect small blade forge.
Step by Step:
Build forge.
Lay your drilled pipe and attach to air supply.
Lay coal around pipe.
Lay blade on top of coals (briquettes)
Add another layer of coal.
Add a layer of wood and light fire.
Allow fire to gain strength before turning air supply on.
When fire is ready turn on air and allow heat to build in the forge.
Heat steel to noticeable red color.
Remove and quench.
1040 and lower quench in water.
1050 and higher quench in oil.
Hope this gives an idea of how to tackle larger projects.
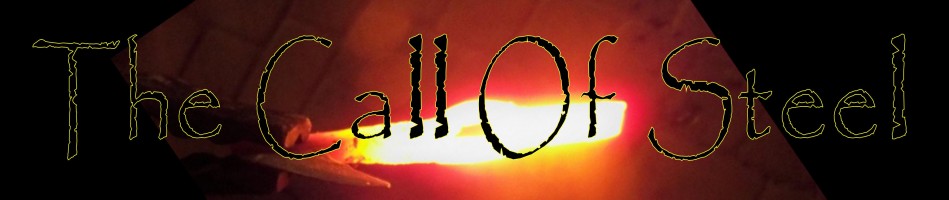
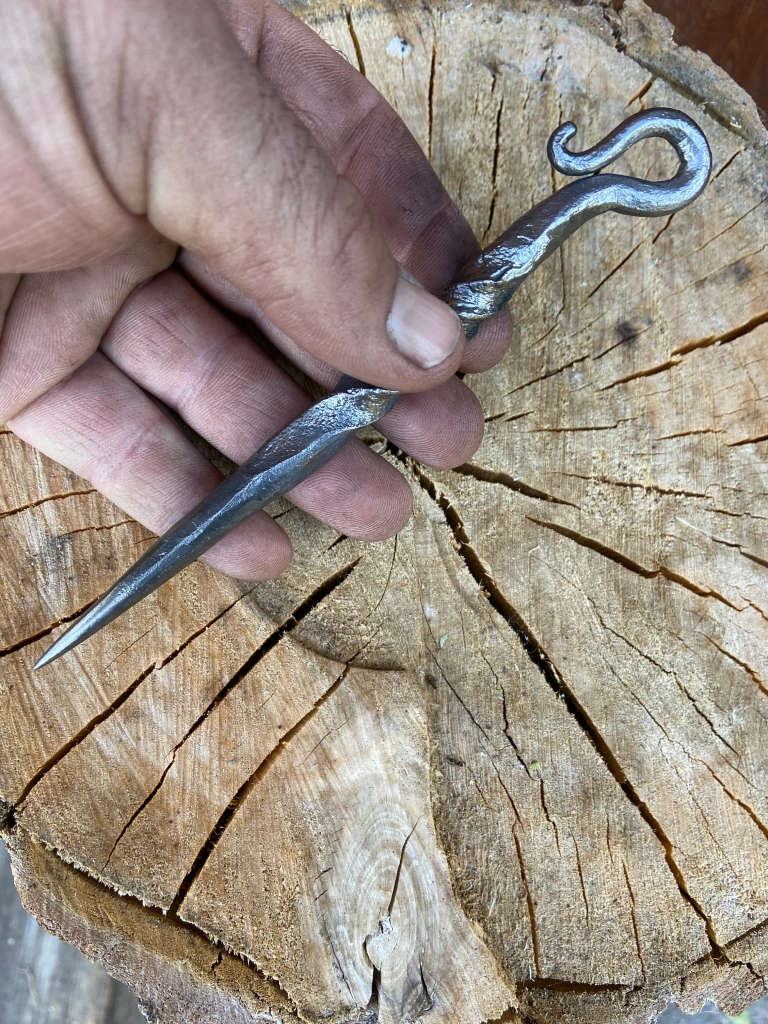
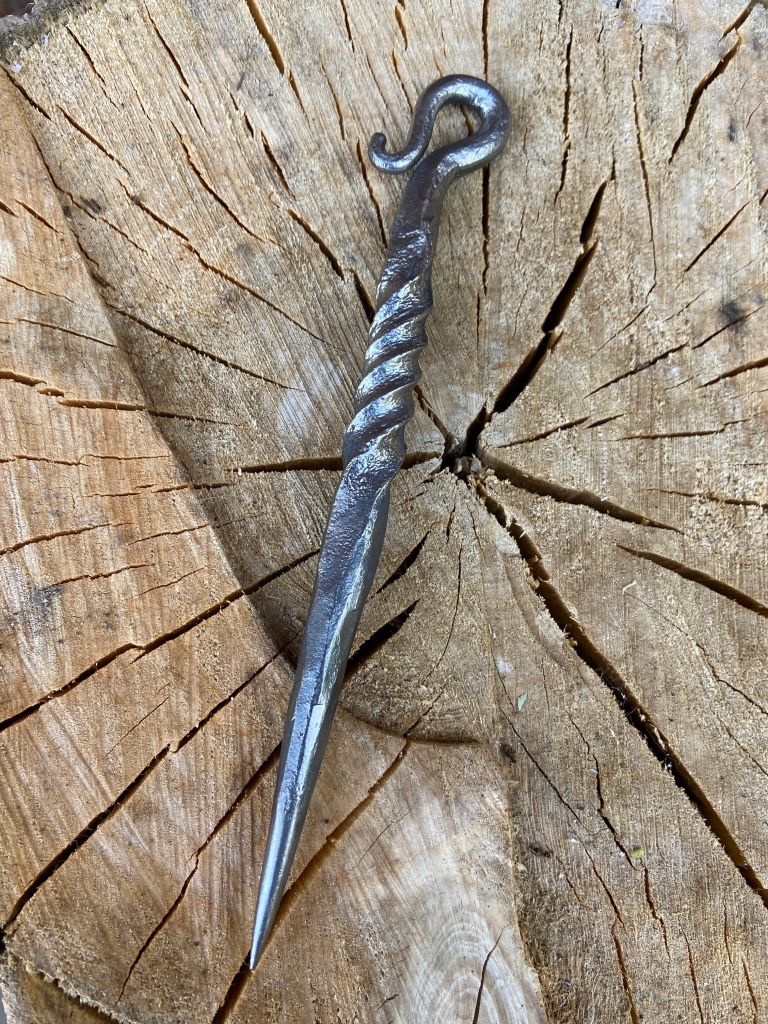
GALLERY OF HAND FORGED BLADES FROM RECYCLED MODERN WROUGHT IRON (1018)
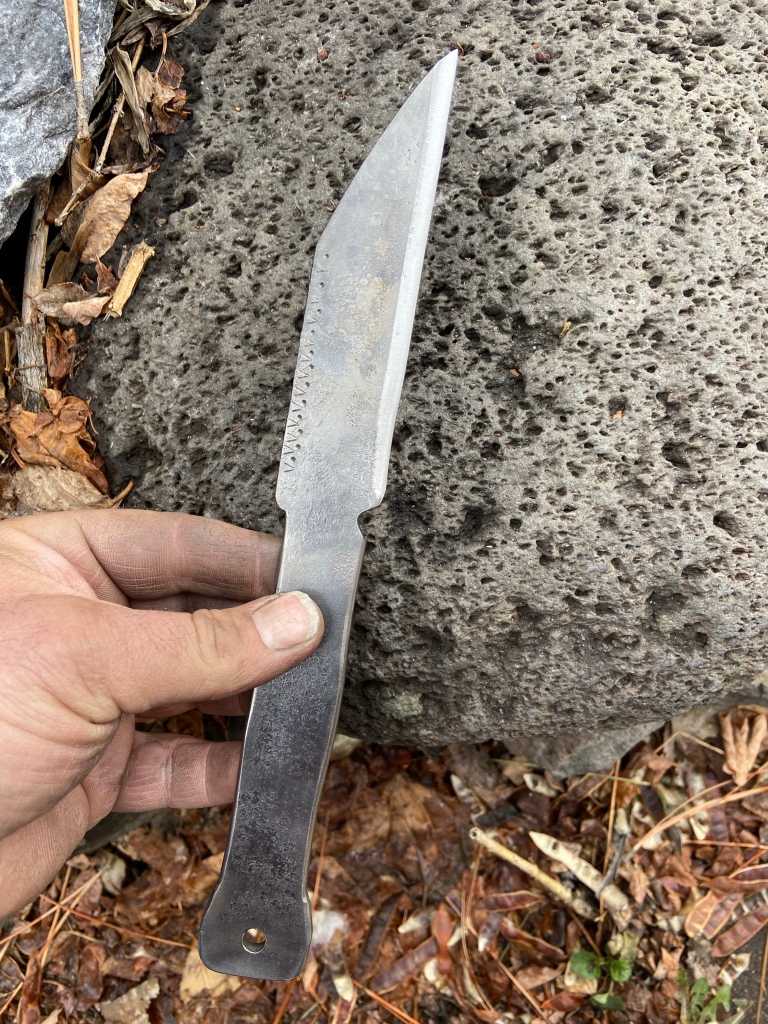
Cold chiseled Runes.
Hand stamped Runic engraving. (Cold chiseled in to steel while still soft)
Recycled Steel: Wroughr iron Athame with brushed finish.
Steel Recycled from a structural ring (18-20% carbon.
Wrought Iron Athame with Antler handle.
Athame: A tool used by a Witch, Sorcerer or Shaman for various energy practices and rituals. Done in Nordic style with chiseled Runic marks.
Forged with hammered edge for increased strength, A early iron age technique called hammer hardening carried over from the bronze age smiths. Viking style.
Viking style wrought iron piece forged from carbon steel round stock.
Recycled Wrought Iron with Visigothic influence. Cold chiseled Runes.
It has taken roughly 2000 years of metallurgical evolution to come to the consistent high quality steels we have today and this allows us to make the finest quality blades and tools. Blades during the early iron age were basically wrought iron with small amounts of carbon sporadically forged into the blade during the making process, today steel is carefully formulated for each use and application. If steel had never been invented our modern world would not exist. Blacksmiths are behind one of the most important human discoveries to ever be made. IRON is one of the single most valuable things ever invented or discovered and is still the core of all modern life as we know it.
Collectors piece: Olaf the Dragon slayer.
Greenlandr 2.0 Bush Knife. Tool Steel with custom handle.