First off before get into explaining this item the original place I saw it was http://www.youtube.com/user/captjeff78/videos and from a few other concepts of static knife edging jigs used in professional factories. I am not associated with Captjeff78 personally but he deserves credit for this great design and honestly the difference maker in my knives going forward. Youtube and many of these great knife video makers are adding valuable if not invaluable hands on info to the greater amateur knife making community so thank you to everyone in the education field regarding Blacksmith and knife making based information. I myself run this blog to help anyone who may be going through the head scratching parts of making knives and doing forge work.
Now onto the Visbjorn Scandi Edge jig!
Forgive the bad graphics but this item is rude, crude and ready to use!
The jig above I use to make Scandinavian Edge style knives to great effect! I can make the same knife with any depth of hollow ground I want and they are basically ready to use right off the sander. I use 80 grit to remove material and 120 to finish my knife edge. I leave the steel at factory finish to creat a more earthy realistic feel that I prefer. I then 3500 RPM wire brush after all heat treating. Sometimes it is nice to hit the master bevel one more time to brighten it up after heat treating. I use a Ryobi 4″-36″ belt sander and generic 1″ by 30″ sander.I prefer using fresh factory made 1075/1080 High carbon steel. Please refer to my Trade off steel post for more info on how to get 1080 and other alloys.
As the graphics show, it is rather self explaining how to make and use this item. Simply creating a secure static for the knife to sit on and move it slowly but firmly across the belt until the desired edge is created. I modified mine to be more adjustable and use the large clamp as a handle which can be a pain but creates a more flexible tool if holes are not desired on your tang. I typically mount in antler so I use a Scandinavian tang shape.
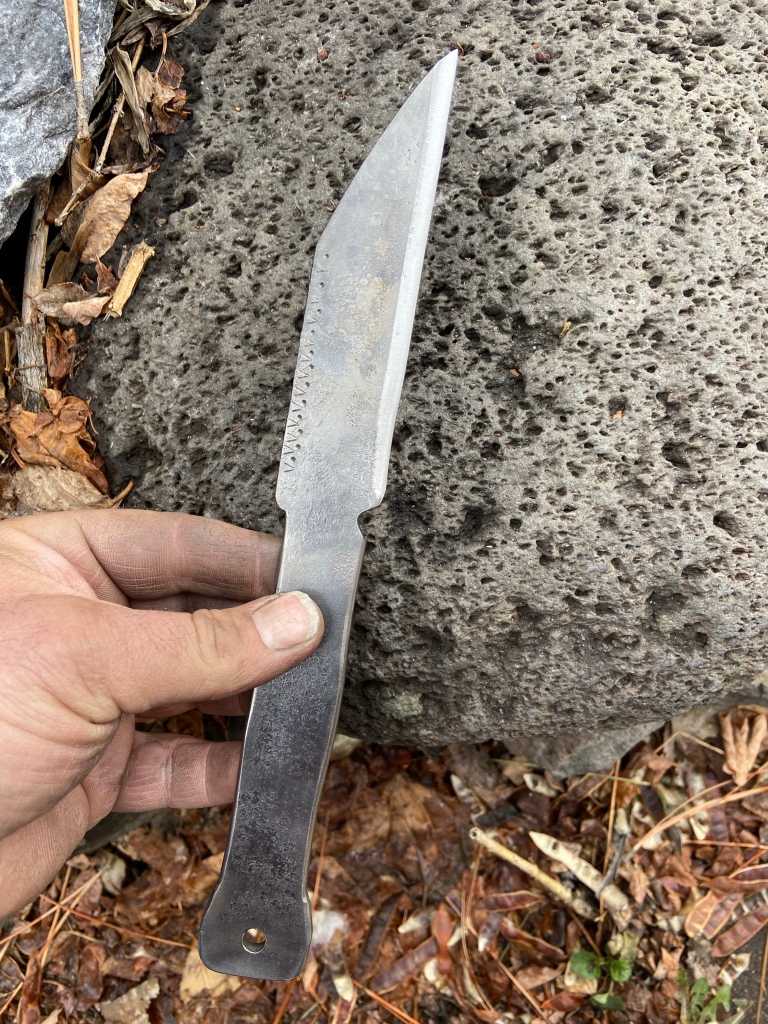
Examples of blades made on my jig:
A finale note I would like to share regarding this jig concept is the profound effect it has made on my freehand knife making. It has steadied my hand and given the proper example of thorough steady grinding required to make a nice functional knife. Now when a roughly forged blades is needing an edge but does not fit on the jig I can easily achieve a nice uniform convex/scandi edge with great success>
Example:
I hope this will help on the road to better knife making, it has helped me greatly in my own progress and has redefined my art form in many ways.
Scandinavian Bush Knife. 1075/1080 blade steel with oil quench.
The Bush knife above is my first under my VISBJORN Forge name and the first Vinlander 1.0 although the design will likely include a stag handle after this prototype.
I used a Jig to get the edge bevel and I will be doing a very detailed post on who invented the jig originally (With links) and how I made my own version and added my own custom details for what I do. I do not know how I lived with out it before so I look forward to sharing my results and modifications in the future. I will also be doing a Gear overview post to show what an evolving home knife shop might have in it and how you can have a serious shop right in your own shed.
I think I went over general safety in a previous post but I will do a safety bullet points right now to refresh.
1. Always wear goggles for grinding and darker glasses for forging. The white spot in the forge can be damaging to the eyes like the light produced by welding..
2. Gloves are needed while grinding to prevent burns and getting caught by the paper/wheel.
3. Hearing protection should be used for any prolonged use of power tools.
4. Always wear a good dust mask while grinding. VERY IMPORTANT.
5. if you use German silver (cupronickel) or nickel in your work whether jewelry or knife accents please be aware the dust is very toxic and should be avoided at all costs.
6. Please see previous posts for blacksmithing tips on hammer holding etc.