
New Creations April 2013 (Gallery) Jewelry and Knives.

Detailed obscure Celtic amulet etched into 24 gauge brass.

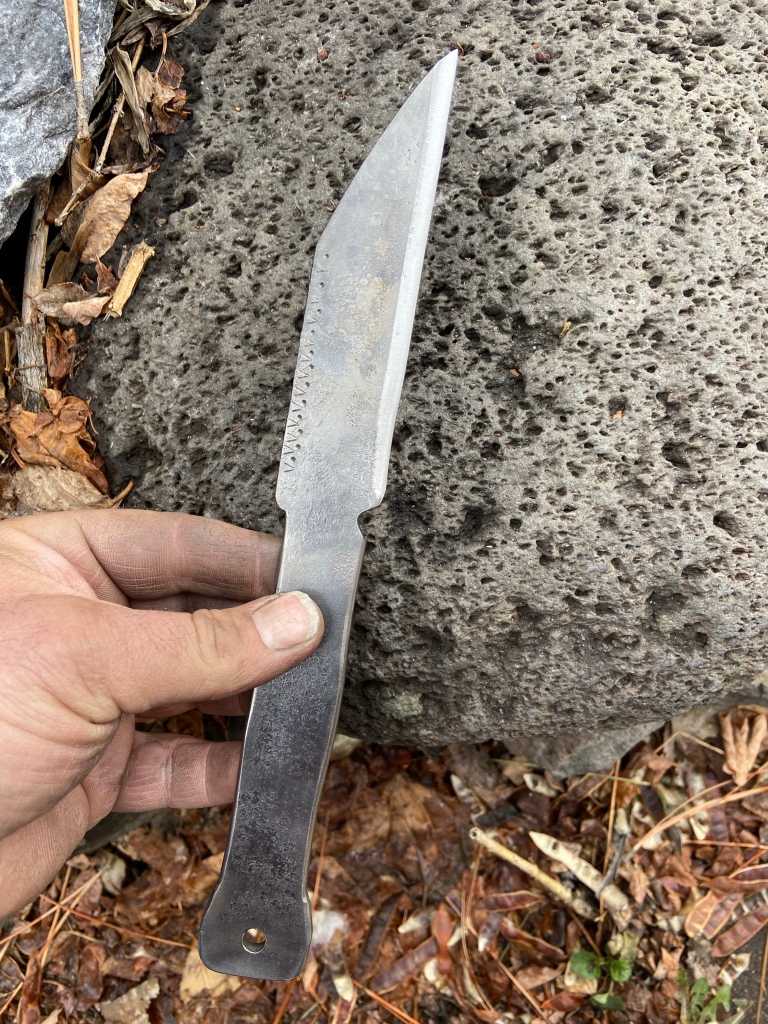
Scandi edge riveted 1080 modern Viking knife.

Germanic -Anglo Saxon eagle etched in brass.

New smaller iron Mjollnir design.

Not metal but an antler Mjollnir!

Bronze Athame or Witches dagger.


1080 Scandi edge (utility) with stag handled.

Arm and Neck rings in Nordic bronze style.
A good variety of projects!
Hrodberht-
Iron: Maximum Hardness For Weaponry (1018) (Low Carb Steel) BULLET POINTS.

What We know:(1018)(Low Carbon)
If you heat iron and quench in water it will get a bit harder.
Quench in oil it will get harder.
Hammer while cold it will get even harder like copper/brass/bronze.
Forge in coal for long enough in the right circumstance you can carburize/surface harden.
Coal forging can help maintain carbon content.
What actually happens: Quenching.
Carbon molecules get trapped inside iron molecule formations causing a hardening effect. Less carbon=less effective.
What actually happens: Cold hammer hardening.
The crystal structure in the steel is forced to deform causing hardening effects.
BEST WAY TO GET MAXIMUM RIGIDITY AND HARDNESS:
All the above methods are true and work to some extent, but if you find your self in the Zombie apocalypse as has been a hilarious and enjoyable topic as of late then you may need some on the fly Macgyver skills in weapon creation.
Take you bar stock or junk steel: flat,square or round (Round/Square may yield better results than flat)
Hammer the steel flat or lengthen the flat by hammering on edge then on flat side (Were deforming crystals)
Continue to work the steel while hot and create as much of the blades form while hot (Edges, point, handle)
Once done with you shape use your Ball-Peen (Round side) to pit the flat body of the blade while hot. Do both sides thoroughly.
OK NOW STOP!!!!!!!!Do not quench!!:
You have through the above process changed the crystal structure of the iron by deforming it while hot. Allow to cool naturally until it is able to be handled.
It should be extremely hard if not impossible to bend at this point by hand. Keep thickness at around the thickness of “2 quarters”.
Place cold steel on anvil and begin using the round end of your Ball-Peen on the cutting edge and main body.
As you hammer, the steel will continue to harden.
Straighten blade by hammering.
The blade will now be at maximum hardness and rigidity. If your edge is uneven simply grind/stone to desired level.
The result is now much harder, and more durable than quenching because the interior structure is effected more than when quenching in liquide.
This is now a primitive but formidable weapon with high durability. I had read some similar info a long time ago but I have always used this kind of material for ornamental purpose, after a week of forging a Athame and the quench actually softened the thin steel, I realized I had actually undone the hardening that occurred while hammering. This in my opinion is the best way to finish anything ornamental or otherwise when using a low carbon steel. The end result also looks beautiful! A good technique to remember when crafting an on the spot tool as well. Again nothing will ever make this as good as HC steel but this material continues to be the most fun to test and experiment with. Again not my own original concept I but it has been enjoyable testing it and coming upon it again in a way by accident. Good knowledge to have.
Final Note:
Know what you have and how it works!

Blade (hot hardened) and then cold hammer hardened (No Quench). Will not bend or budge.
H-
Knives And Jewelry Gallery 2012
Jewelry and Athame in 2012.
HC Rebar 40 Grade. Polish/natural finish.

Mjollnir Amulet. Upcycled steel with SP ring.

HC Railroad Spike Knife

Norse Serpent

Forged Mjollnir With Loop.

Coin Silver Mjollnir with Solid 925 Ring.

These are just a few of the items being produced in my fire between late 2011-2012. Hope you enjoyed the gallry.
H-
Norse West Shop. Tons of New items!

Working with Larger scale blade: Bullet points and Explanation.


Forging a larger blade 14″-30″ can be very frustrating to do because of the time and consistency of the heating required to shape or heat for quenching. This post will address these 2 issues. First take a close look at the two photo’s above. you notice that the brick box is fitted with a drilled copper pipe, this is your air source and will allow you to create enough heat to do your work. I built this forge for the purpose of quenching a 24 inch Seax blade so I drilled the holes very small along to the pipe. This allows me to add just enough heat to get to red without worrying about burning the steel. Adjust the drilled hole size based on what you are doing. If you are forging then add larger holes for more air. I use old bricks because they retain a great amount of heat and are easy to get. I use briquettes because they can burn hot enough to melt steel or can be heated and maintained just to heat to red as I have done here. In the fire is briquettes and a mixture of hardwoods and ever green limbs. This setup can be built anywhere and works very well, if you shorten this exact design it makes a perfect small blade forge.
Step by Step:
Build forge.
Lay your drilled pipe and attach to air supply.
Lay coal around pipe.
Lay blade on top of coals (briquettes)
Add another layer of coal.
Add a layer of wood and light fire.
Allow fire to gain strength before turning air supply on.
When fire is ready turn on air and allow heat to build in the forge.
Heat steel to noticeable red color.
Remove and quench.
1040 and lower quench in water.
1050 and higher quench in oil.
Hope this gives an idea of how to tackle larger projects.
H-

Cold Chiseling Runes Gallery

- Katala spelled in Elder Futhark. Chiseled pre hardening.

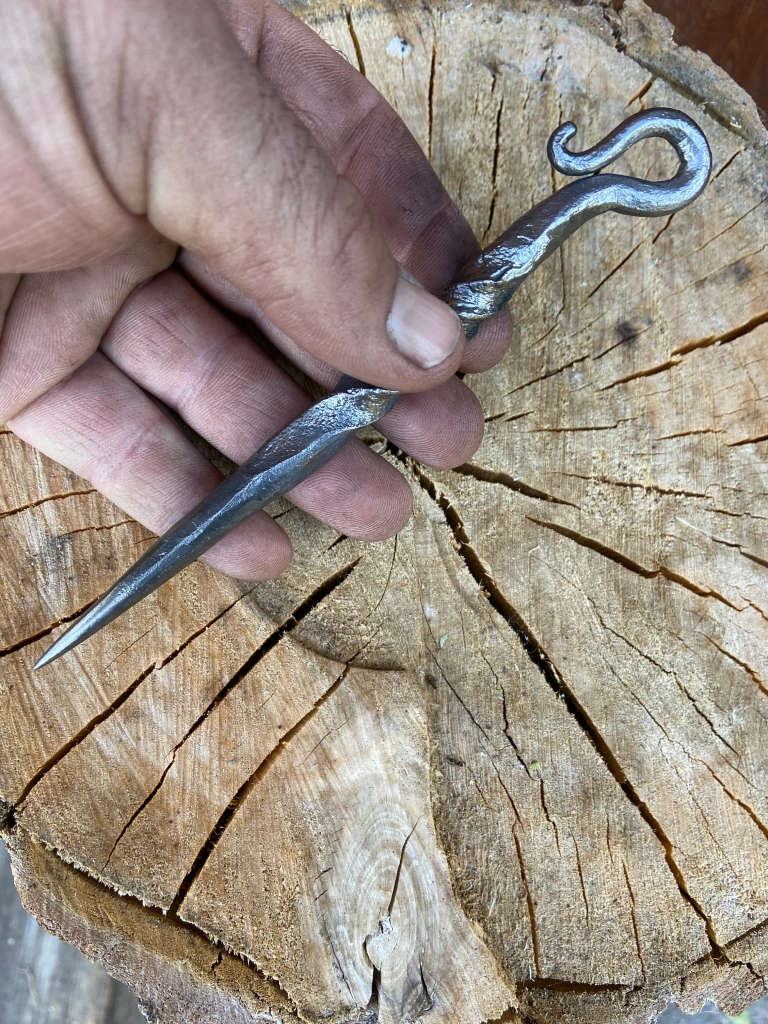
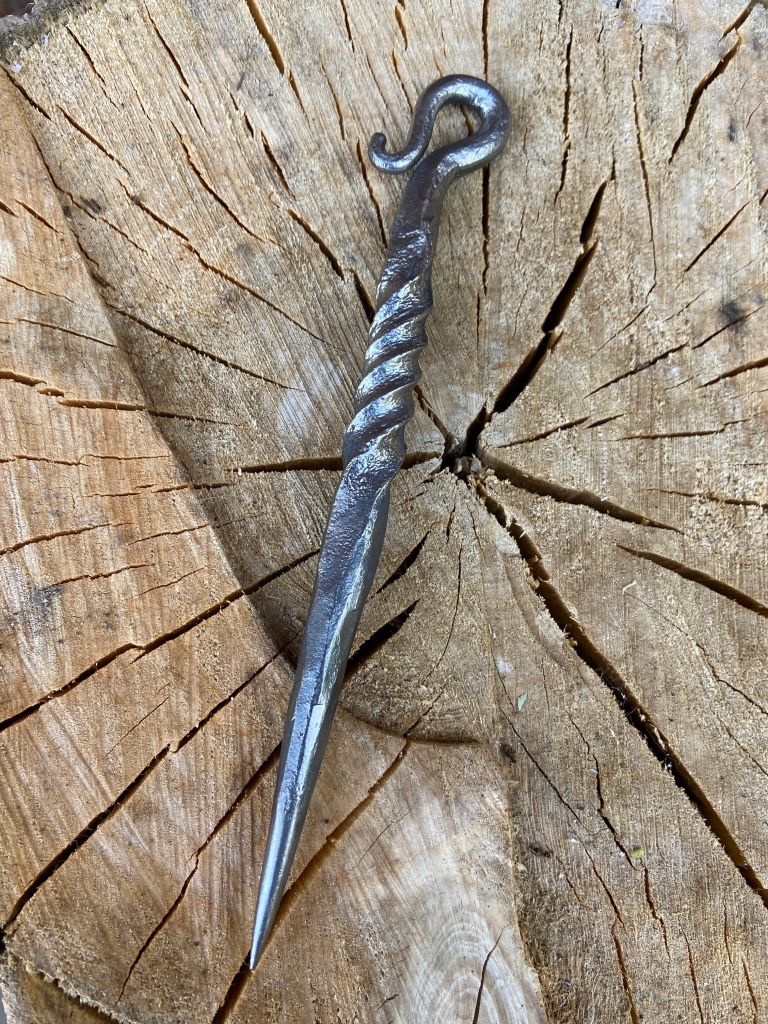
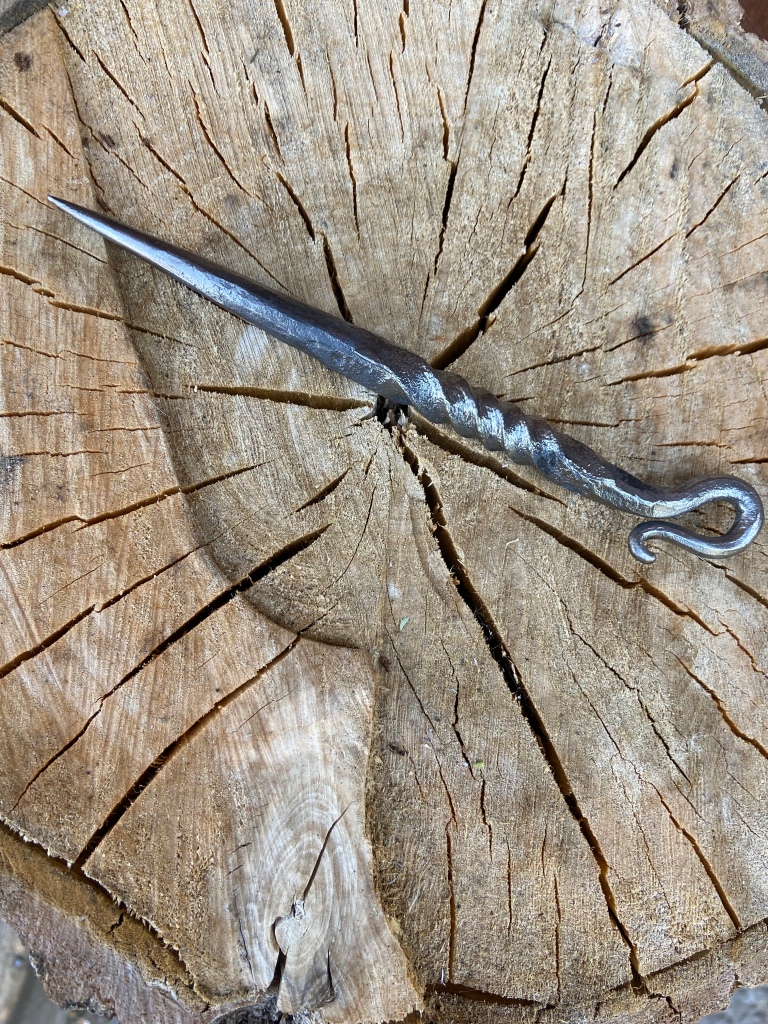
Athame: A tool used by a Witch, Sorcerer or Shaman for various energy practices and rituals. Done in Nordic style with chiseled Runic marks.

Recycled Wrought Iron with Visigothic influence. ATHAME.

Wrought Iron Athame with Chiseled Runes.

Wrought Iron Athame with Antler handle.

Recycled Steel: Wroughr iron Athame with brushed finish.Cold chiseled Runes. Heat Steel to orange and allow to cool fully for best result.

Hand stamped Runic engraving. (Cold chiseled in to steel while still soft)

Norse Seax and its finer points of design.

Norse Seax in Battle form with Reindeer antler handle.

- Utility lenth Seax Forged from High Carbon Steel.

Iron Seax.
The Norse Seax:
Length 7 to 24 inches historically.
Date of invention early: Iron age.
Meterial: Iron/Steel.
Notabe details: Steep drop angle nose and straight cutting edge.
Name: Seax is from the Germanic word “SAX” meaning short sword or long knife.
NORSE: Sax
ANGLO SAXON: Seax
……………………………………………………..
The Saxon people derived there name from this weapon because of there lengedary use of the weapon. No man was without this blade in the time of migrations. The popularity of the blade was so woven into Nordic culture that the Seax in style existed from the early iron age through the Viking age.
The Norse/Saxon warrior often carried:
1 Spear
1 Seax
1 Sword
1 belt knife
A hand Axe could also be added to this already fully stocked personal armoury.
H-
Mild Steel/Wrought Iron Dagger Gallery.

Cold chiseled Runes.
Hand stamped Runic engraving. (Cold chiseled in to steel while still soft)
Recycled Steel: Wroughr iron Athame with brushed finish.

- Steel Recycled from a structural ring (18-20% carbon.


- Wrought Iron Athame with Antler handle.
Athame: A tool used by a Witch, Sorcerer or Shaman for various energy practices and rituals. Done in Nordic style with chiseled Runic marks.

Forged with hammered edge for increased strength, A early iron age technique called hammer hardening carried over from the bronze age smiths. Viking style.

Viking style wrought iron piece forged from carbon steel round stock.
Recycled Wrought Iron with Visigothic influence. Cold chiseled Runes.
